Stop Running Python Scripts Manually: A Guide to Google Cloud Scheduler
7 min read
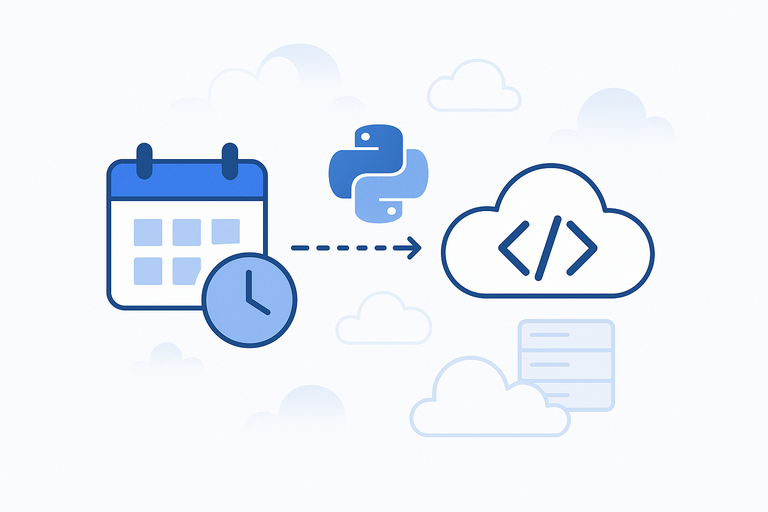
So you've deployed a Python script to the cloud. What's next? Maybe you need to run it every morning to fetch data, or once a week to generate a report. Manually triggering it is not a long-term solution. You need to automate it.
This is where Google Cloud Scheduler comes in. It's a fully managed service for running jobs on a schedule, similar to a traditional cron job, but in the cloud.
This guide will walk you through setting up a Cloud Scheduler job to automatically run a Python script that you've deployed as a Google Cloud Function.
What You'll Need
This article builds on a previous one. To follow along, you should already have:
- An HTTP-triggered Python script deployed as a Google Cloud Function.
- The public URL of your Cloud Function.
- Any required authentication headers for your function (like the
X-Auth-Tokenwe set up previously). For more on authentication options, see Access control with IAM.
How to Create a Scheduled Job
We'll use the Google Cloud Console to create a job that triggers our weather-updater script every morning at 8 AM.
- Navigate to the Cloud Scheduler page in the Google Cloud Console.
- Click Create Job.
This will open a form with several fields to configure. Let's go through them one by one.

1. Define the schedule
This section tells the job what to run and when to run it.
- Name: Give your job a unique name, like
daily-weather-update. - Region: Choose the region where your job will run. It's good practice to select the same region as your Cloud Function to reduce latency.
- Description: (Optional) Add a short description of what the job does. For example, "Triggers the weather function every morning."
- Frequency: This defines the schedule using a unix-cron format. It can look intimidating, but it's quite simple. For our example, to run the job at 8 AM every day, you would enter
0 8 * * *. - Time zone: Select the time zone for your schedule. For example,
Africa/Nairobi. It's best to use a specific time zone rather than UTC to avoid issues with daylight saving time changes.
2. Configure the execution
This section tells the job how to run your script.
- Target type: Select HTTP. This means the scheduler will make an HTTP request to a URL.
- URL: Paste the public URL of your Google Cloud Function here.
- HTTP method: Choose the method your function expects. Our example script uses a
POSTrequest to trigger the logic, butGETis also common. - HTTP Headers: This is where you add the authentication token.
- Click Add Header.
- For Header name, enter
X-Auth-Token. - For Header value, enter the secret token you configured as an environment variable in your Cloud Function.
- Body: (Optional) If your function requires a JSON payload, you can add it here. Our weather script doesn't, so we can leave it blank.
- Auth header: Leave this as No authentication. We are using our own custom token in the HTTP headers, so we don't need Google to add an authentication header for us.
Once you've filled everything out, click Create. Your job is now active and will run on the schedule you defined. You can monitor its status, view logs, and even trigger it manually from the Cloud Scheduler dashboard.
Frequently Asked Questions (FAQ)
1. How much does Cloud Scheduler cost? Cloud Scheduler has a generous free tier that includes 3 jobs per month at no cost. After that, the pricing is very low. For most personal projects or small applications, you likely won't pay anything.
2. What does "at least once" delivery mean? Google guarantees that your job will be triggered at least once per scheduled time. In very rare cases, a job might run more than once. Because of this, your function's logic should be idempotent, meaning that running it multiple times has the same effect as running it once. Our weather script is idempotent because re-fetching and saving the weather data doesn't cause any harm.
3. What happens if my function fails? Cloud Scheduler has a built-in retry policy. If your function returns an error status code (like 500), the scheduler will automatically retry the request with an exponential backoff. You can configure the retry attempts and duration in the job settings.
4. Can I schedule things other than an HTTP request? Yes. Cloud Scheduler can also send a message to a Pub/Sub topic or trigger an App Engine service.
About the Author
About the Author
David Muraya is a Solutions Architect specializing in Python, FastAPI, and Cloud Infrastructure. He is passionate about building scalable, production-ready applications and sharing his knowledge with the developer community. You can connect with him on LinkedIn.
Related Blog Posts
Related Blog Posts
Enjoyed this blog post? Check out these related posts!
Run Python Scripts for Free with GitHub Actions: A Complete Guide
Schedule and Automate Python Scripts Without Managing Servers or Cloud Bills
Read More...
How to Run Python Scripts in the Cloud with Google Cloud Functions
Deploy Python Scripts to the Cloud: Secure, Automate, and Scale Instantly
Read More...

Mastering ERPNext 16 Development: The Complete Guide to Building Custom Apps
Build, Test, Deploy: A Modern CI/CD Pipeline for ERPNext Developers
Read More...
Install ERPNext 16 on Windows (WSL): A Complete Development Guide in 2026
The Ultimate Guide to Building Frappe Apps on Windows with WSL 2, and VS Code
Read More...
Contact Me
Contact Me
Have a project in mind? Send me an email at hello@davidmuraya.com and let's bring your ideas to life. I am always available for exciting discussions.