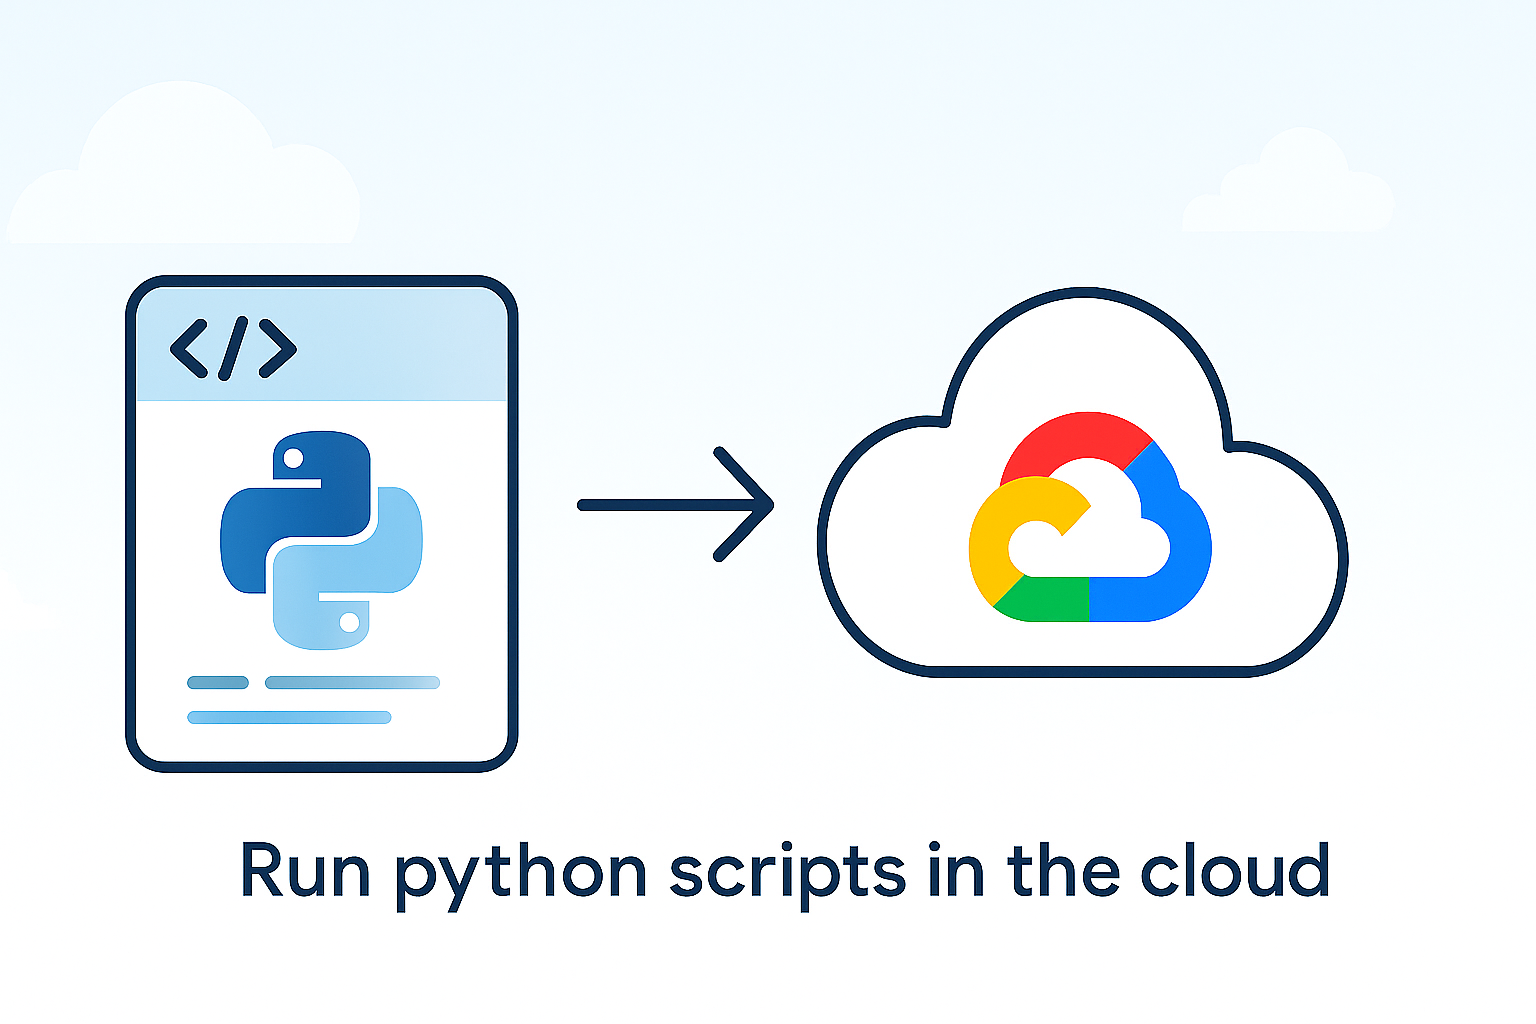
How to Run Python Scripts with Google Cloud Functions
9 min read
By David Muraya • December 3, 2025
Google Cloud Functions are a simple way to run code in the cloud without managing servers. You provide a piece of code, and Google runs it for you in response to an event, like an HTTP request or a file upload. This makes them a great fit for running scheduled tasks, data processing jobs, or lightweight backend logic.
This guide explains how to set up and run a Python script as a Google Cloud Function. We'll cover the basic file structure, dependencies, how to test your script locally, and how to deploy it through the Google Cloud console.
Setting Up Your Python Script
To run a script on Cloud Functions, you need to structure your project correctly. At a minimum, you'll have a Python source file and a file listing your dependencies.
The Source File (main.py)
Your Python code lives in a source file, which is typically named main.py. This file must contain a specific function that Google Cloud Functions will call when the function is triggered. This is called the "entry point."
The Runtime and Dependencies (requirements.txt)
When you create a Cloud Function, you specify the Python runtime you want to use, such as Python 3.13. It's best to use a recent, stable version supported by Google Cloud.
Any external libraries your script needs, like aiohttp for making HTTP requests or python-dotenv for local development, must be listed in a requirements.txt file.
A simple requirements.txt might look like this:
# requirements.txt aiohttp python-dotenv
Cloud Functions will automatically install these packages when you deploy your code.
Example: A Weather Update Script
Let's look at a practical example. The following script fetches weather data from an external API and sends it to a backend service. It's designed to be triggered by an HTTP request, which is a common use case.
The function demonstrates how to fetch a 16-day weather forecast from the Open-Meteo API for a given location. It uses aiohttp for asynchronous HTTP requests and parses the daily forecast data into a list of dictionaries.
Securing Your Cloud Function
By default, HTTP-triggered Cloud Functions are accessible to anyone who knows the URL. To prevent unauthorized or accidental execution, you should implement a simple authentication mechanism.
In the code below, the function expects a secret token to be sent in the X-Auth-Token header. It compares this token to a value stored in an environment variable (WEATHER_UPDATE_SECRET). If the token is missing or incorrect, the function returns a 401 Unauthorized response.
This approach is lightweight and effective for internal automation. For more sensitive use cases, consider using Google Cloud IAM for authentication.
The entry point is the main(request) function. This is the function that Cloud Functions will execute.
# main.py

# This script fetches weather data from Open-Meteo API for various towns
# and updates a backend API with the fetched weather information.
# The script is designed to be run in a Google Cloud Function environment.

import asyncio
import hmac
import json
import logging
import os
import sys

import aiohttp
from dotenv import load_dotenv

load_dotenv()

# --- CUSTOM JSON FORMATTER ---
class StackdriverJsonFormatter(logging.Formatter):
    def format(self, record):
        # Create the JSON payload
        log_record = {
            "severity": record.levelname,  # GCP reads this to set the level (blue/orange/red)
            "message": record.getMessage(),
            "lineno": record.lineno,
        }

        # Handle exceptions if present (e.g. logger.exception)
        if record.exc_info:
            log_record["exc_info"] = self.formatException(record.exc_info)

        return json.dumps(log_record)

# --- LOGGING SETUP ---
def setup_logging():
    # 1. Get the root logger
    root_logger = logging.getLogger()

    # 2. Clear any existing handlers (important for Cloud Run/Functions)
    if root_logger.hasHandlers():
        root_logger.handlers.clear()

    # 3. Create a StreamHandler that writes to stdout
    handler = logging.StreamHandler(sys.stdout)

    # 4. Attach the JSON Formatter
    handler.setFormatter(StackdriverJsonFormatter())

    # 5. Set the handler and level
    root_logger.addHandler(handler)
    root_logger.setLevel(logging.INFO)

# Initialize
setup_logging()
logger = logging.getLogger(__name__)

# --- CONFIGURATION ---
API_BASE = "https://my-website.com"
API_SECRET = os.environ.get("API_SECRET")
OPEN_METEO_DELAY_SECONDS = 3

# Example coordinates for Nairobi
NAIROBI_LAT = -1.286389
NAIROBI_LON = 36.817223


# Fetch weather data from Open-Meteo for a given latitude and longitude
async def fetch_weather_from_openmeteo_async(session, lat, lon):
    url = "https://api.open-meteo.com/v1/forecast"
    params = {
        "latitude": lat,
        "longitude": lon,
        "daily": [
            "weather_code",
            "temperature_2m_max",
            "temperature_2m_min",
            "precipitation_probability_max",
        ],
        "timezone": "Africa/Cairo",
        "forecast_days": 16,
    }
    try:
        async with session.get(url, params=params) as response:
            response.raise_for_status()
            data = await response.json()
            daily = data["daily"]
            result = []
            for i in range(len(daily["time"])):
                max_temp = daily["temperature_2m_max"][i]
                min_temp = daily["temperature_2m_min"][i]
                precip = daily["precipitation_probability_max"][i]
                result.append(
                    {
                        "date": daily["time"][i],
                        "wmo": daily["weather_code"][i],
                        "high": round(max_temp, 2) if max_temp is not None else None,
                        "low": round(min_temp, 2) if min_temp is not None else None,
                        "precipitation_probability": precip,
                    }
                )
            return result
    except Exception as e:
        logger.error(f"Failed to fetch weather from Open-Meteo for {lat},{lon}: {e}")
        raise


async def runner():
    logger.info("--- Starting Async Weather Updater ---")
    async with aiohttp.ClientSession() as session:
        try:
            weather_list = await fetch_weather_from_openmeteo_async(session, NAIROBI_LAT, NAIROBI_LON)
            for day in weather_list:
                logger.info(f"Nairobi {day['date']}: High {day['high']}°C, Low {day['low']}°C, Precipitation {day['precipitation_probability']}%")
        except Exception as e:
            logger.critical(f"Could not fetch weather data. Aborting. Error: {e}")
            return
    logger.info("--- Weather update finished ---")


def main(request):
    """
    This is the entry point for the Google Cloud Function.
    It authenticates the request and then runs the weather update logic.
    """
    # 1. Get the secret from Environment Variables
    expected_secret = os.environ.get("WEATHER_UPDATE_SECRET")
    if not expected_secret:
        logger.critical("Server Error: Authentication secret not configured.")
        return "Server Error: Authentication secret not configured.", 500

    # 2. Get the secret provided in the request header
    provided_secret = request.headers.get("X-Auth-Token")

    # 3. Securely compare the secrets to prevent timing attacks
    if not provided_secret or not hmac.compare_digest(expected_secret, provided_secret):
        logger.warning("Unauthorized access attempt.")
        return "Unauthorized: Invalid or missing token.", 401

    # --- Authentication Passed, proceed with logic ---
    try:
        asyncio.run(runner())
        return "Weather update complete", 200
    except Exception as e:
        logger.exception("Weather update failed with unhandled exception")
        return f"Weather update failed: {e}", 500


# For local testing
if __name__ == "__main__":
    class MockRequest:
        def __init__(self, headers):
            self.headers = headers

    # For local testing, load the secret from your .env file
    auth_secret = os.environ.get("WEATHER_UPDATE_SECRET")

    # Create a mock request with the required authentication header
    mock_request_with_auth = MockRequest(headers={"X-Auth-Token": auth_secret})

    # Call main with the authenticated mock request
    result, status_code = main(mock_request_with_auth)
    print(f"Local test result: {result} (Status: {status_code})")
Why use this logging configuration?
This setup ensures all your logs are output in JSON format, which is the preferred format for Google Cloud Logging (formerly Stackdriver). By including the severity field and writing logs to stdout, Cloud Run and Cloud Functions can automatically parse, index, and color-code your logs in the Cloud Console. This makes it much easier to search, filter, and monitor your application’s behavior and errors in production. The formatter also captures exception traces, so you get full stack traces in your logs for debugging.
For more on logging best practices in Python web apps, see my guide: How to Set Up Logging in FastAPI. If you want to securely manage your logging and other secrets, check out Secure FastAPI Environment Variables on Cloud Run with Secret Manager.
Testing Your Script Locally
You should always test your function locally before deploying. The if __name__ == "__main__": block allows you to run the script directly from your terminal.
To run it, you would execute python main.py in your terminal. This approach confirms your logic works and that you are handling environment variables correctly before you deploy.
Deploying Your Function to Google Cloud
Newer (2nd gen) Cloud Functions are built on top of Cloud Run. This means you'll use the Cloud Run interface to deploy your function.
Prerequisites
Before you start, make sure you have the following:
- A Google Cloud project with billing enabled.
- The Artifact Registry, Cloud Build, Cloud Run Admin, and Cloud Logging APIs enabled. You can enable these via the API Library.
- The necessary IAM permissions, specifically the Cloud Run Developer and Service Account User roles.
Deployment Steps
- In the Google Cloud console, navigate to the Cloud Run page.
- Click Create Service.
- For the deployment source, select Write a function. This will allow you to use an inline editor to create a function.
- Enter a Service name for your function (e.g.,
weather-updater). - Choose the Region where you want to deploy (e.g.,
us-central1). - Select a Runtime of Python e.g Python 3.13.
- Under Authentication, select Allow public access. Note: We are allowing public network access because we implemented our own token-based security check in the code.
- Under Billing, choose the appropriate billing approach for your project. I suggest using Request based billing to optimize costs. Request-based billing charges per request, for instance startup, when instances are processing requests and instance shutdown.
- Under Service Scaling, choose minimum instances 0 to minimize costs when the function is not in use. Set the maximum instances according to your expected load.
- Under Ingress, select All.
- Expand the Container, Networking, Security section and select the Variables & Secrets tab.
- Crucial Step: Click Add Variable.
- Name:
WEATHER_UPDATE_SECRET| Value:your-super-secret-token - Name:
API_SECRET| Value:your-backend-api-key - Without these, your script will fail to authenticate.
- Click Create to proceed to the source editor.
- In the Source settings:
- Set the Runtime to Python 3.13.
- Copy your
main.pycontent into the editor. - Update
requirements.txtwith your dependencies (aiohttp,python-dotenv). - Ensure the Entry point matches your function name (e.g.,
main).
- Click Save and redeploy.
The screenshot below shows the Cloud Run console where you configure and deploy your Python function, including settings for authentication, billing, scaling, and environment variables.

After a few moments, the function will be deployed. Cloud Run will provide a public URL that you can use to trigger your function.
Pro Tip: If your function fails, you can view the error output in the Logs tab of your Cloud Run service. This connects directly to Cloud Logging and is essential for debugging.
While deploying from the console is great for getting started, a more robust approach for production is to automate this process. You can learn how to do this in my guide on setting up a simple CI/CD pipeline for FastAPI with Google Cloud Build and Cloud Run.
Frequently Asked Questions
What is a Cloud Function entry point?
The entry point is the name of the function in your source code that you want Cloud Functions to execute when triggered. For HTTP-triggered functions, it must accept a request object as an argument (e.g., def main(request):).
How do I manage secrets and API keys?
For production, the best practice is to use a dedicated service like Google Secret Manager to securely mount secrets as environment variables. This keeps your sensitive data out of your source code. For local development, you can use a .env file, and I cover how to centralize your configuration with Pydantic Settings to make this seamless.
Can I run long-running scripts on Cloud Functions? Cloud Functions have a maximum timeout, which is 3600 seconds for HTTP-triggered functions. For tasks that take longer, consider using Cloud Run jobs or Compute Engine.
How can I schedule a function to run periodically? You can use Google Cloud Scheduler to trigger your HTTP-based Cloud Function on a schedule (e.g., every hour or once a day). You create a Cloud Scheduler job that sends an HTTP request to your function's URL.
External Resources
- Google Cloud Docs: Quickstart: Deploy a Cloud Run function using the Google Cloud console
- Google Cloud Docs: Quickstart: Deploy a function to Cloud Run using the gcloud CLI
- Python Docs: hmac — Keyed-Hashing for Message Authentication
About the Author
About the Author
David Muraya is a Solutions Architect specializing in Python, FastAPI, and Cloud Infrastructure. He is passionate about building scalable, production-ready applications and sharing his knowledge with the developer community. You can connect with him on LinkedIn.
Related Blog Posts
Related Blog Posts
Enjoyed this blog post? Check out these related posts!
Stop Running Python Scripts Manually: A Guide to Google Cloud Scheduler
A Step-by-Step Guide to Creating Cron Jobs for Your Cloud Functions.
Read More...
Run Python Scripts for Free with GitHub Actions: A Complete Guide
Schedule and Automate Python Scripts Without Managing Servers or Cloud Bills
Read More...

Mastering ERPNext 16 Development: The Complete Guide to Building Custom Apps
Build, Test, Deploy: A Modern CI/CD Pipeline for ERPNext Developers
Read More...
Install ERPNext 16 on Windows (WSL): A Complete Development Guide in 2026
The Ultimate Guide to Building Frappe Apps on Windows with WSL 2, and VS Code
Read More...
Contact Me
Contact Me
Have a project in mind? Send me an email at hello@davidmuraya.com and let's bring your ideas to life. I am always available for exciting discussions.